 Washington Trails
Association
Trails for everyone, forever
If you’d like to create your own longer hike, here are tips to get you on the right path on a lesser-known route. By Lauren Lake
My map with tracks, waypoints, bus stops and tide warnings is available online.
If you’d like to do a long hike like the Wonderland Trail, the Pacific Crest Trail (or sections of it) or the Oregon Coast Trail, you can find neatly organized map sets and itineraries. But if you have a route in mind that doesn’t have a clear guide, you can also do the planning yourself.
I’m working on a project to hike the beaches of the entire West Coast. I’ve completed Oregon and decided to tackle Washington next.
Though I found a few trail notes from hikers who did this back in 2004, there were no documented routes. Here’s how I built my plan — you could use this same technique to plan your own DIY thru-hike.

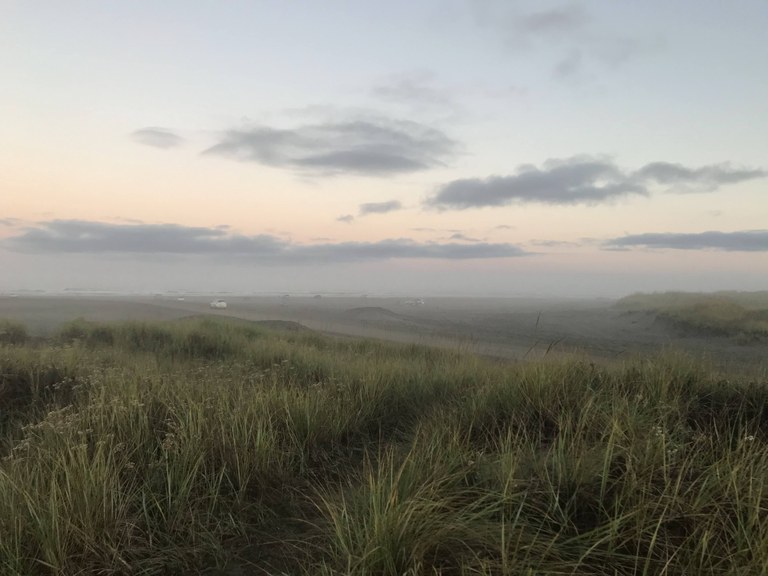
If you'd like to create your own longer hike, here are tips to get you on the right path on a lesser-known route. Photo by Lauren Lake
First, I needed to decide where I would start and end. I decided to hike from Cape Disappointment on the Columbia River to Cape Flattery on the Olympic Peninsula. My route would include the beaches and coastal headlands but not the inland detours around Willapa Bay, Grays Harbor or Puget Sound.
Ideally, I wanted to hike on the beach as much as possible. But there are places where I’d need trails to get over headlands and around rivers or tide pinch points. I started by using Google’s satellite views to identify places where I would have to get off the beach.
Then, on WTA’s Hike Finder Map, I zoomed in on each of these spots to see my options. As an example, looking at Cape Disappointment, I could see that there was a significant headland I’d need to climb. On the WTA site, I found the connecting North Head Trail and Discovery Trail. I read the hike descriptions and scanned the trip reports to be sure that the trails had been hiked recently and were passable.

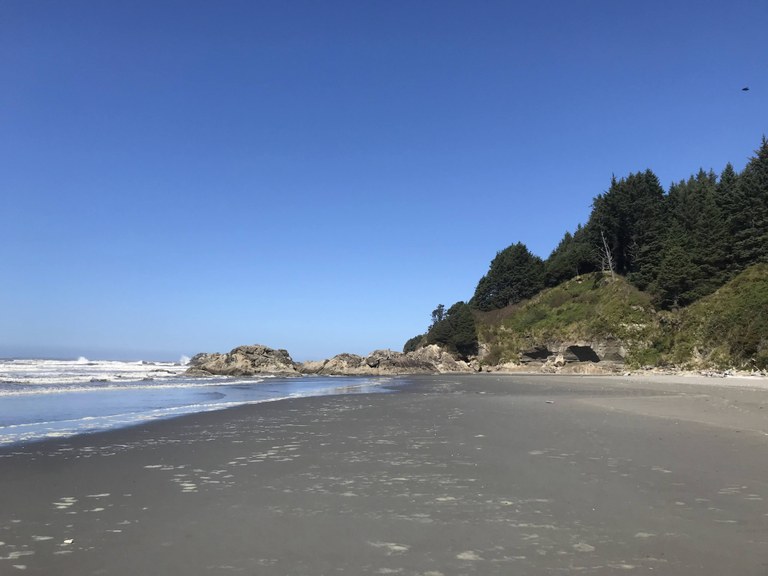
If you're dreaming of a longer hike, some careful research can let you craft a trip that's perfect for you. Photo by Lauren Lake
Finally, I started building a map with these options. I used Caltopo, but Gaia and Garmin also have apps that work to create a custom track. My map with tracks, waypoints, bus stops and tide warnings is available online.
Once I had a rough map of my entire trip, I started researching access and permits. Several sections of the coast are tribal lands, and one turned out to be closed to non-tribal members. For the Quinault Reservation between Moclips and Queets, I made a plan to use roads and buses to reroute inland around the area. Past Queets, my path would enter Olympic National Park, which meant securing backcountry camping permits for each night.
My route ended up being about 185 miles of hiking. I then started breaking it down. I set my daily distance based on the terrain and the options for accommodations and resupply. I used motels where I could and camped otherwise.
The first stretch of the hike was the Long Beach peninsula, which was 34 miles of beach and trail. I broke it into 2 days, stopping overnight at Ocean Park where there was lodging, shops and restaurants.
I proceeded up the coast on my map, figuring out each day. The most challenging section was in Olympic National Park. A number of stretches of beach had narrow time windows when the tide was low enough to round a point or cross a river. For example, Diamond Point could only be crossed at a 2-foot-or-lower tide. I planned to camp the night before just south of the point, so I had the whole next day to find a window to make my way around.
I did one extra step and researched additional places where it would be possible to get on or off the beach. In Washington, there can be long stretches of coast where every access point is private property and posted “no trespassing.” In case I missed a tide and needed to road-walk a section, I needed to identify ahead of time where I could get off the beach and onto the road. I noted the location of every public beach access along my route.
The best choice was state and local parks on the beach. If I just saw a road leading to the beach, I looked on Google Street View to see if the road off the coast highway was marked with “private” or “no trespassing” signs or had a gate.

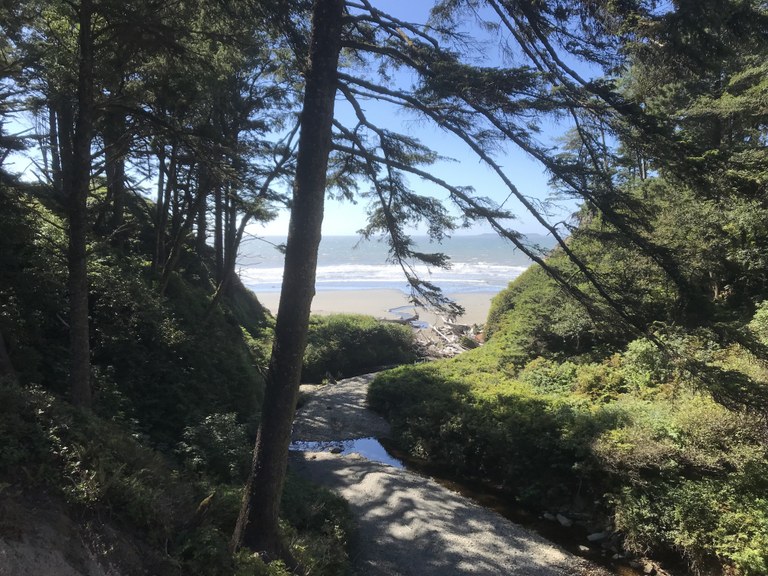
Planning your own DIY thru-hike enables you to experience less-traveled paths. Photo by Lauren Lake
I knew I would be hiking in early September. I picked my hiking dates by looking at when I would have the best daytime low tides for the most challenging sections. Working backward from the best day to round the tide pinch points, I settled on a Sept. 2 departure.
I then went through day by day to be sure my dates worked. Because I planned to use buses to skirt the Quinault Reservation, the Hoh River and the Quillayute River, I needed to be sure the buses I needed would be running on the days I’d need them; some buses only run on weekdays.
With dates in mind, I started making reservations. The camping permits were booked on recreation.gov. Normally the permits are emailed out a few days before the reservation date, which could have caught me out on the trail without cell service or a printer. Because I was thru-hiking, I reached out to the Olympic National Park Wilderness Information Center and was able to have all of the permits sent to me ahead of time.
I then looked at each of the other stops and tried to find a modestly priced motel. By staying in motels, I could wash clothes and dry gear in between camping stretches. I didn’t end up camping until I got to Olympic National Park.

Knowing the unique issues for the area you’re planning — such as the time of low tides for a beach hike — will help ensure you have a safe, fun trip. Photo by Lauren Lake
For a trip of 5 days or less, I normally just bring all of my food and supplies from home. For this 12-day hike, that would not fit in my pack. Instead, I mostly ate along the way at minimarts and restaurants until I got to Olympic National Park. I resupplied in Forks for the first half of the park, and in La Push for the second stretch.
I also noted that if I needed to replace any gear, my bus rides would give me the option to get to supplies at Walmart in Aberdeen and Forks Outfitters farther up the coast.
A final step in resupply planning was identifying water sources. Just because a map shows a stream flowing along the path doesn’t mean the water is drinkable or that it flows year-round. I looked for trip reports mentioning water and scanned recent satellite images for water levels. CalTopo and Gaia have daily Sentinel satellite map layers available for premium subscribers.
The best water sources were in towns, which are frequent on some sections of the coast. In between towns, beach access and campground restrooms may have running water. Failing that, I tried to identify a stream where recent trip reports had indicated water was available. I noted each possible water source on my maps.

Knowing where to resupply and gather water is crucial. Photo by Lauren Lake
In order to plan my gear, I looked at typical weather patterns for my dates. With a long trip, I didn’t have the luxury of checking last minute and packing accordingly. I ended up taking a midweight thermal top as my mid-layer, since temperatures are typically moderate at this time of year. Had the weather turned cold, I would have bought a heavier fleece in Forks for my camping nights to the north. For rain gear, I took just the jacket and skipped the pants. Again, I knew I could add pants in Forks if needed.
Coastal thru-hikes tend to have frequent towns for resupply, often with fishing shops with good foul-weather gear. If I were planning more of a backcountry trip, or if towns I planned on passing wouldn’t have rain gear, I would have packed warmer options. The weight penalty would be offset by the gain in safety and comfort.
I carried a bear canister the whole way. It is required for the Olympic National Park sections, but I prefer to carry one in general when I have a potential wilderness camping night. This was something I could have acquired at my resupply stop in Forks, but I liked having it early in case of an unexpected camping night.
I’m an experienced coastal hiker, so my gear list was pretty dialed in. If I did not have a tested list, I’d do some online searches. If you’re planning a hike, check out lighterpack.com to see if hikers have posted their packing lists for their trips on similar trails. Another good source is guide companies that offer trips in the area. They often post their recommended gear on their websites.

Dialing-in your gear is crucial for a long journey. Photo by Lauren Lake
A week out, I started reading recent trip reports on wta.org and checking the wilderness information on the Olympic National Park site. I double-checked all of my bus schedules to be sure they hadn’t changed.
Based on the tides and bus schedules, I figured out when I needed to start hiking each day and worked out a few time checkpoints for each day to be sure I was on pace. (Nothing worse than missing the last bus of the day.)
I downloaded all of my final maps and information to my phone and printed hard copies of the maps in case my phone died. I installed a tides app on my phone and also carried a printed list of the tide times for the trickiest spots.

Take time to double check every detail before departure. Photo by Lauren Lake
Mostly things went according to plan. In two places, I had to road-walk farther than anticipated because the beach access I hoped to use was posted “no trespassing.” My food and resupply worked out perfectly, though I did need to replace a couple of broken items in Aberdeen. If I did it again, I think I could shave off a day by making better use of buses between Aberdeen and Forks.
After your trip, one final step is to head to wta.org and file a trip report. It lets you reflect on your hike — and give other hikers valuable information!