 Washington Trails
Association
Trails for everyone, forever
Want to feel cleaner and pack less on trail while following LNT principles? Join us on a journey to reevaluate our backcountry bathroom etiquette. By Joseph Gonzalez
Pooping: one of life’s purest simple joys. Performing the act in the backcountry is one thing, but cleaning yourself afterward is something else. In the woods there’s no privacy, no sink and no porcelain throne to do your business on. And, if you’re willing to take a backcountry bidet with you on your next trip, there won’t be any toilet paper (TP) either.
Don’t be alarmed. Using a backcountry bidet might sound like a mess waiting to happen, but frontcountry bidet users know: by choosing a bidet system over toilet paper you will be cleaner, pack less, and reduce your impact on the environment by adopting a new bathroom habit.

Knowing the ins and outs of your body is a crucial component of backcountry hygiene and comfort. Having a plan before you have to go helps. Photo by Joseph Gonzalez
Practicing proper hygiene is a backcountry skill. Just like taking care of your feet will prevent blisters, taking care of yourself *ahem* down there will prevent a ton of chaffing and discomfort. All of the sweat and dirt your booty has been exposed to after a long day of hiking accumulates. Add in any residual matter you may not have fully cleaned-up during your last bathroom visit, and you’re looking at a layer of sun-don’t-shine-friction that will cause you to chafe with discomfort once you start walking again. You would take preventative measures to avoid hiking with blisters on your feet, so why not do the same to avoid a raw behind?
Did you know toilet paper can take years to decompose? That’s why the preferred Leave No Trace (LNT) practice is to pack out your soiled TP. If you don’t, your dirty bathroom tissue runs the risk of being dug up by animals, even if you buried it in a proper 6-8 inch cathole. We’ve all seen these “toilet paper blooms” on the side of trails, especially in highly trafficked areas or arid environments. This backcountry malpractice is enough to make the toughest hiker feel queasy.

A traditional backcountry bathroom kit. You can slowly wean yourself into the bidet system by only bringing a little bit of toilet paper on your next trip, aka TP roulette. Photo by Joseph Gonzalez
Even hikers who already double zip-lock their used TP and pack it out might prefer the bidet system. Who really wants to carry around a bag of used toilet paper, slowly adding to it day after day as it cooks in the sun on your hiking trip? No toilet paper = no problem.
Instead, the water from a bidet will seep into the ground (ideally over your cathole or a privy box) and help break down the waste left there. That way you can leave your waste, and the anxiety of not having enough TP, behind.
Here’s what you need to know before you try the backcountry bidet method:

Hand sanitizer and an ultralight trowel are optional, but highly recommended. Photo by Joseph Gonzalez

Each nozzle has a different pressure level and trajectory. Choose wisely and practice at home. Photo by Joseph Gonzalez
Now that you’ve had your morning coffee, found a nice private area 200 feet away from trails, campsites and water sources, and are visiting the backcountry toilet or have dug a cathole 6-8 inches deep, we can get started. Drop your drawers and start your engines:
So long as you’re clean, comfortable and follow proper LNT ethics, there’s no wrong way to do your business. However, if you’re hoping to take your bathroom hiking set-up to the next level, consider giving the bidet a try. Not only will you get cleaner, meaning you’ll hike longer and more comfortably, but you’ll also reduce your impact on the environment by using less toilet paper.

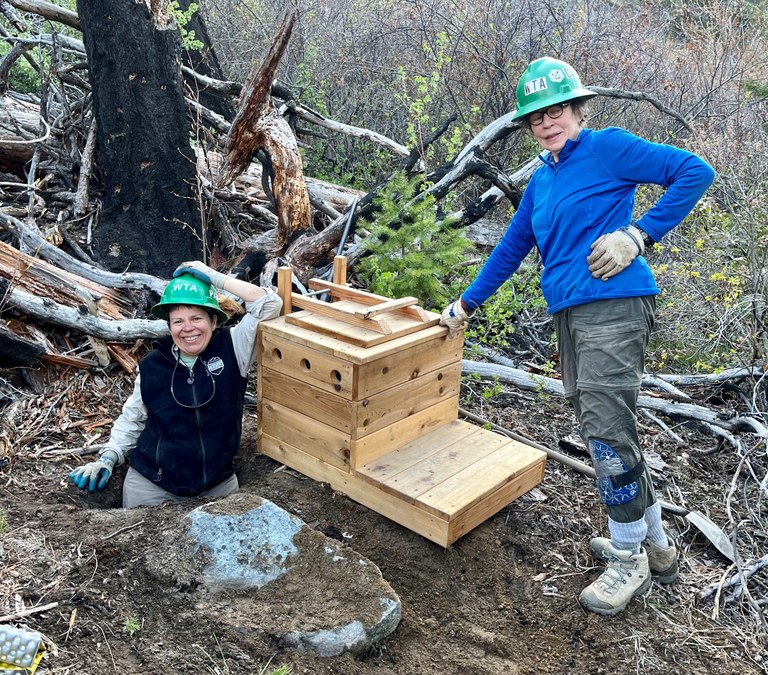
WTA's land manager partners handle privy maintenance 99% of the time, but on the rare occasion we get to help too. Photo by Evelyn Hall
After all, Everyone Poops — all 7.88 billion of us — but not everyone uses a bidet. Backcountry bidet practices might feel like a lot to digest, but with a bit of patience and bravery, you too can adopt this clean, ultralight hiking habit. Once you try it, paper just won’t rub the same again!
What advice would you give someone looking to transition to using a backcountry bidet? Did we miss a spot?